Table of Contents
There are many forum posts out there about how people started out in astrophotography and what their advice is for those who are also beginning. Many of these posts are really helpful since it can be overwhelming trying to get started. Here are some of the most common things out there from those giving advice to beginners: get a low focal length scope and image wider fields of view, spend roughly half of your entire budget on the mount, spend a lot of time getting used to aligning and working with your mount and setup, and don’t take on everything at once; small steps.
Generally speaking I think these are good points to consider, especially for those who don’t have a ton of hours a week to spend working on the hobby. Yeah, many people have gotten very frustrated trying to perfect a high focal length system and learn a billion things at once. But you shouldn’t count out the possibilities either if you’re determined and have the time! High focal length astrophotography is pretty great for imaging galaxies and smaller nebulae and I don’t regret starting right out with it.
How I Started
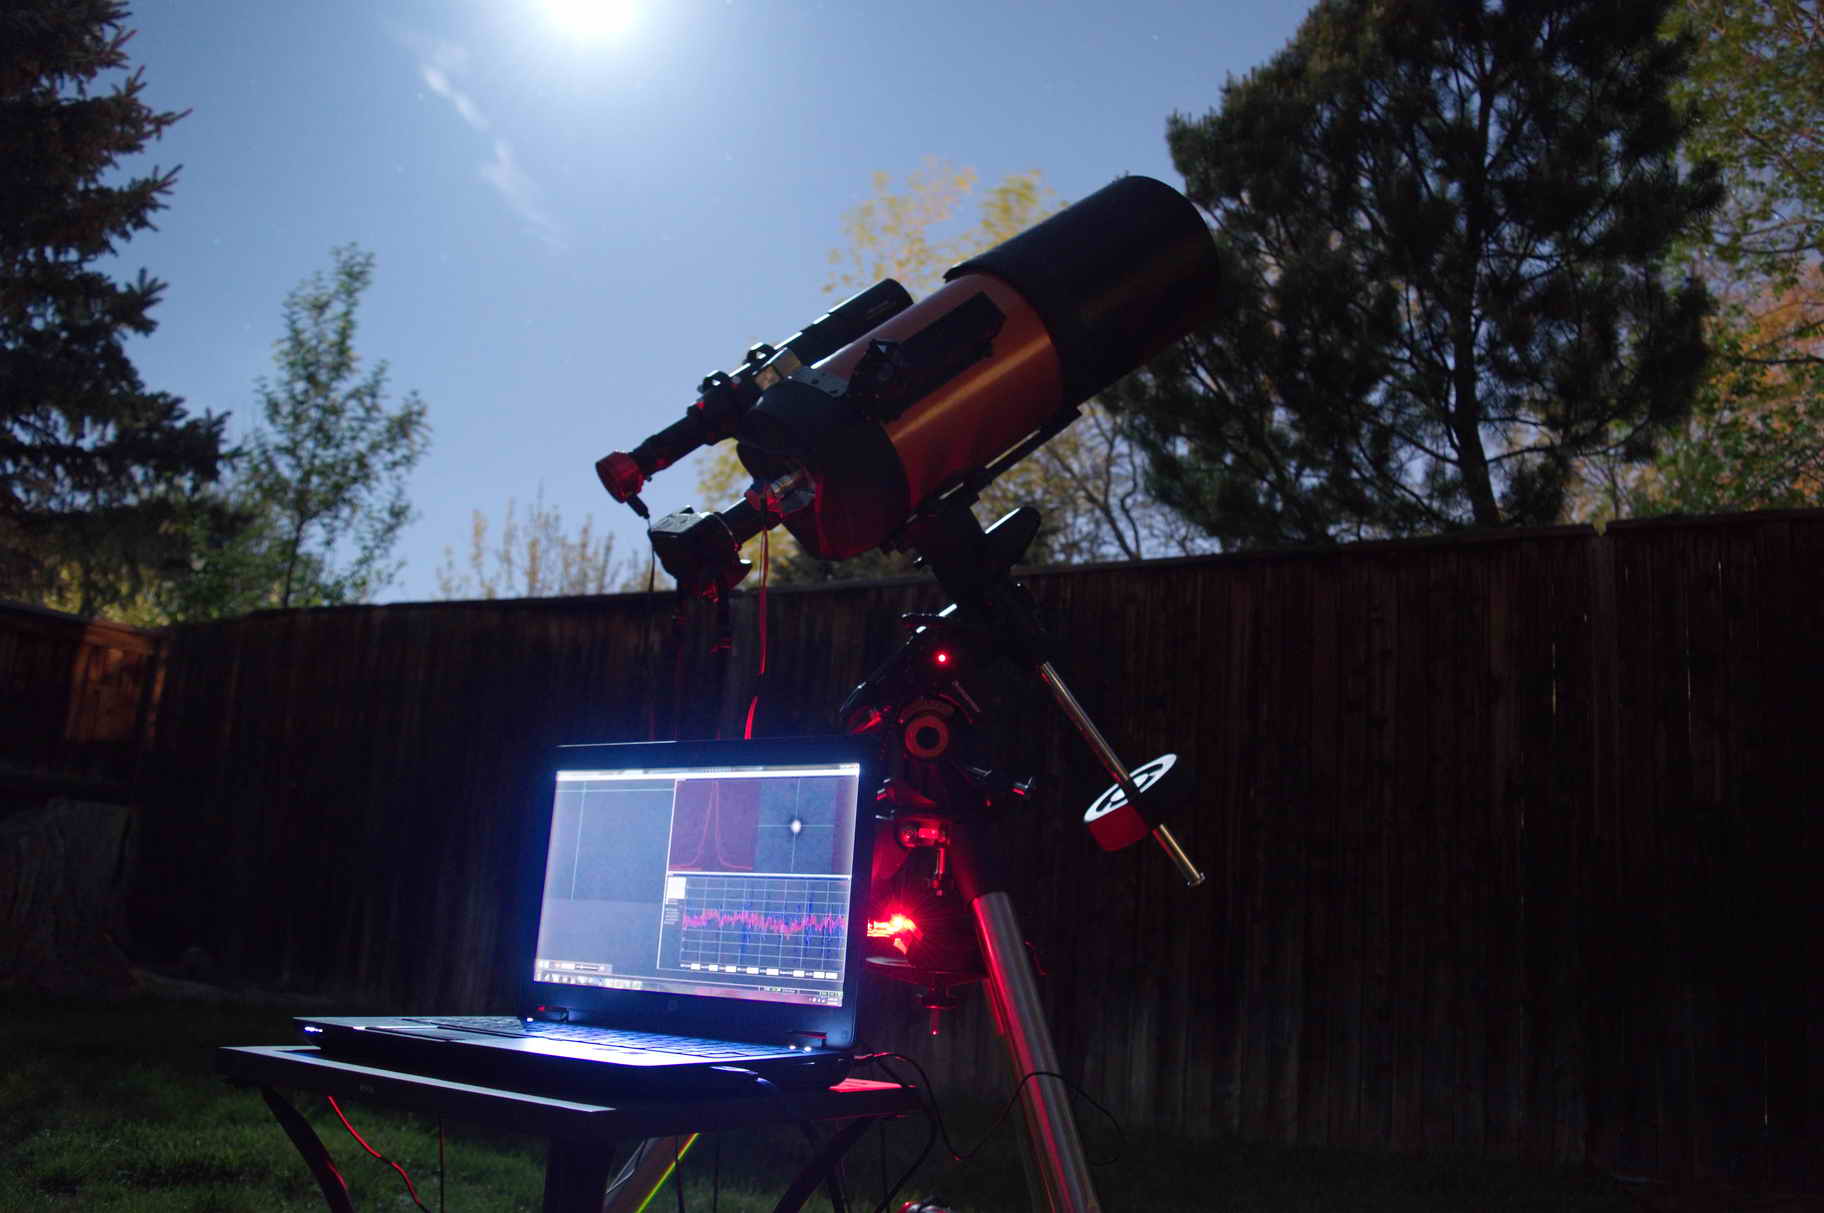
I actually started with the biggest viewing scope I could with the intent of checking out planets, the moon and some other objects with a good go-to capability so I could have the telescope show me what’s out there; I only later decided to do astrophotography! I got the Celestron Nexstar 8se used at a pawn shop because of its big aperture and high magnification and resolution. It included the standard alt-az mount and eyepiece kit for great viewing as well. It was a great deal and I have used it years later.
After a few weeks of phenomenal views of the moon at incredibly high resolution, I did what anyone would want to do and got some pictures of the moon through the eyepiece with my phone. I also got some images of the planets during better seeing conditions:
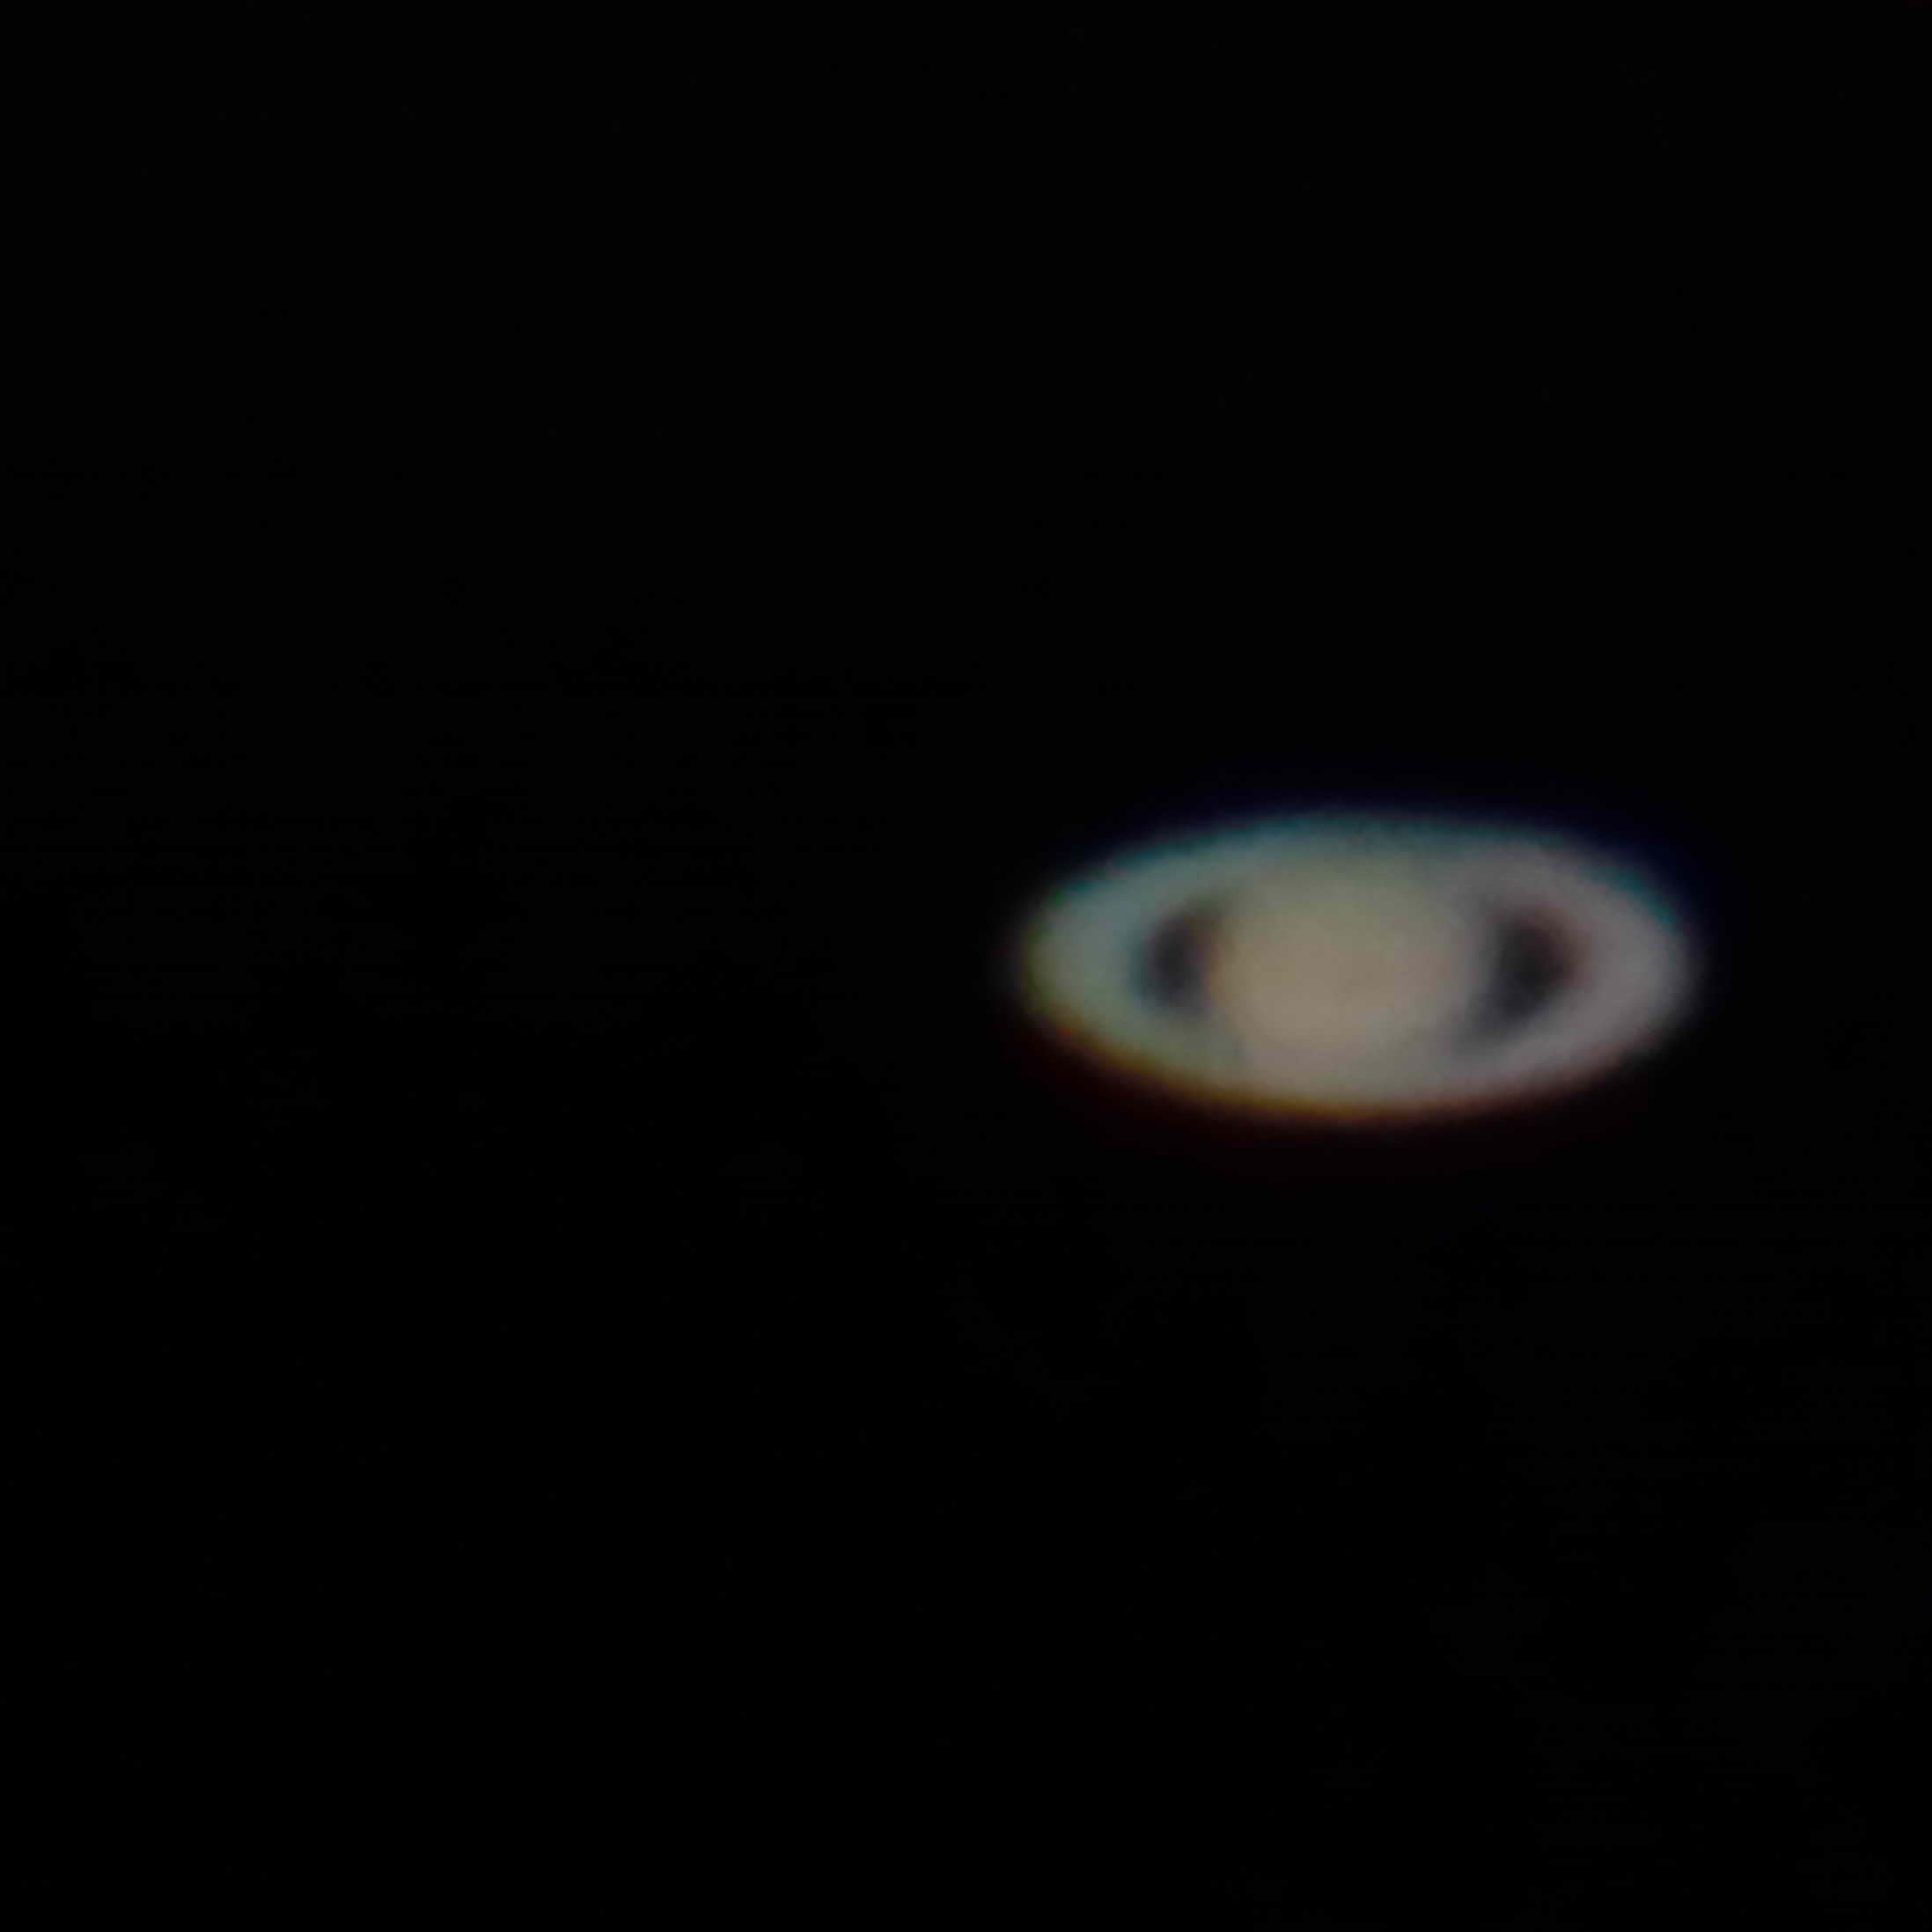
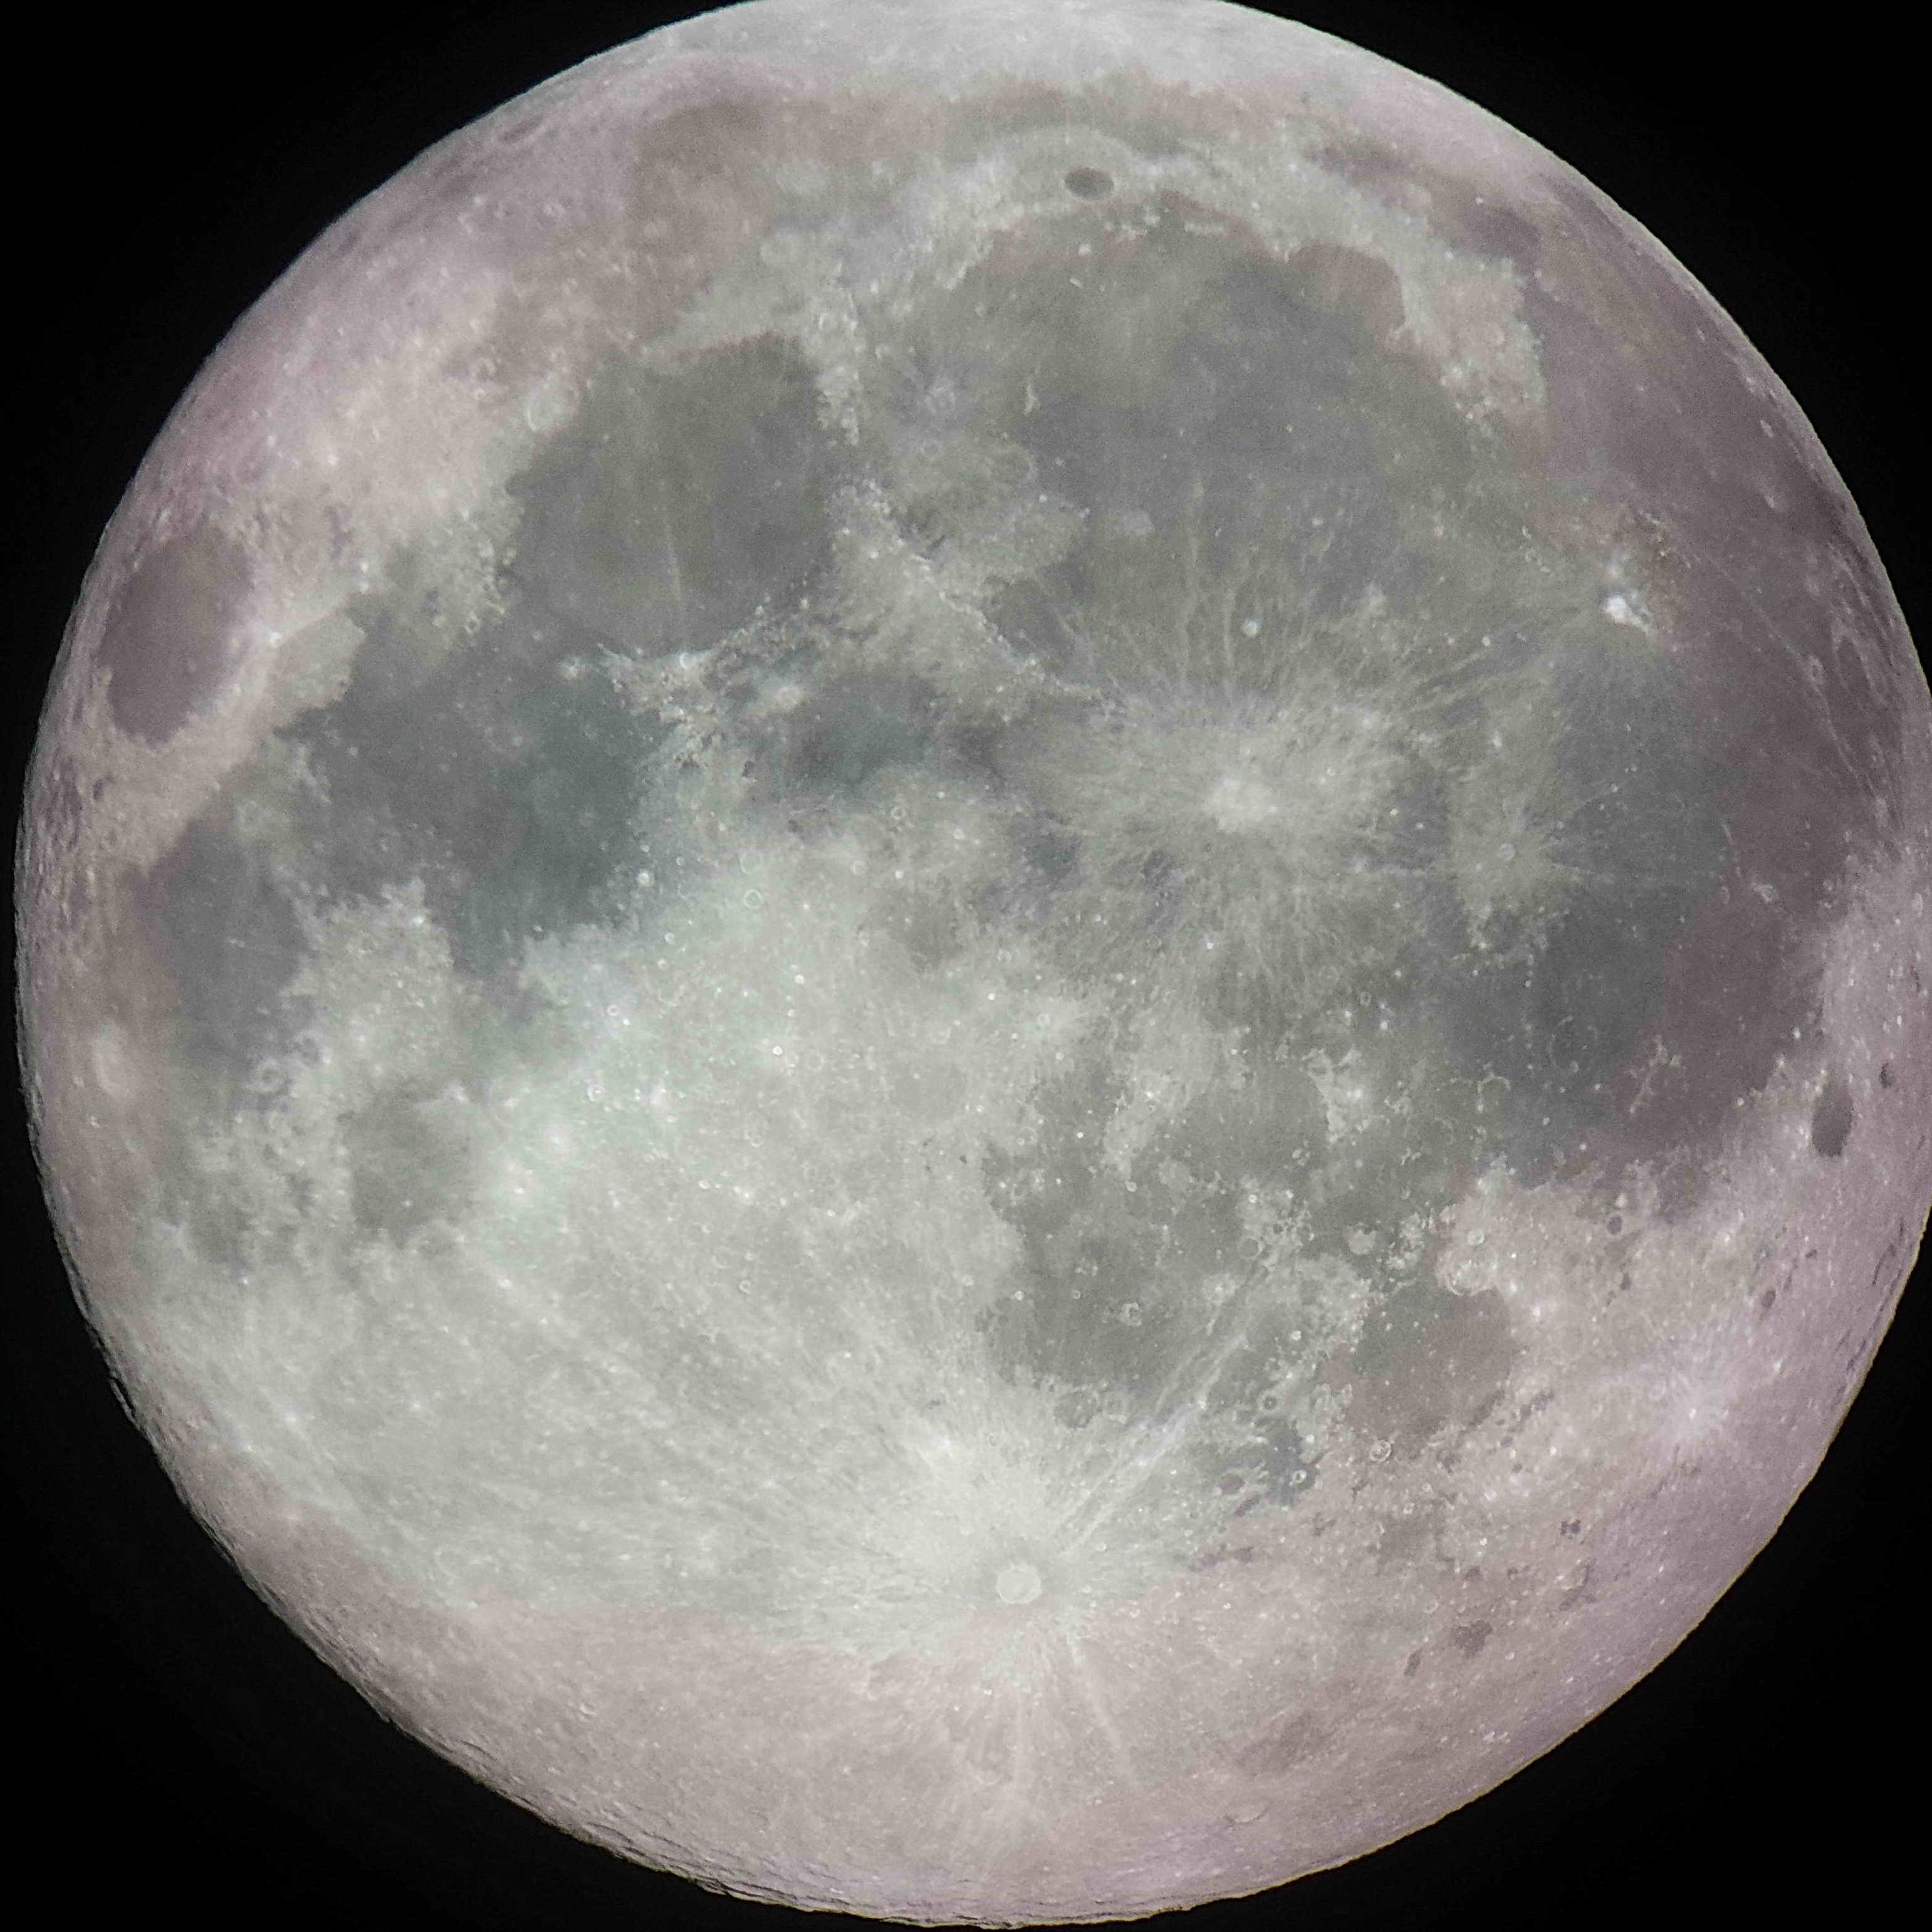
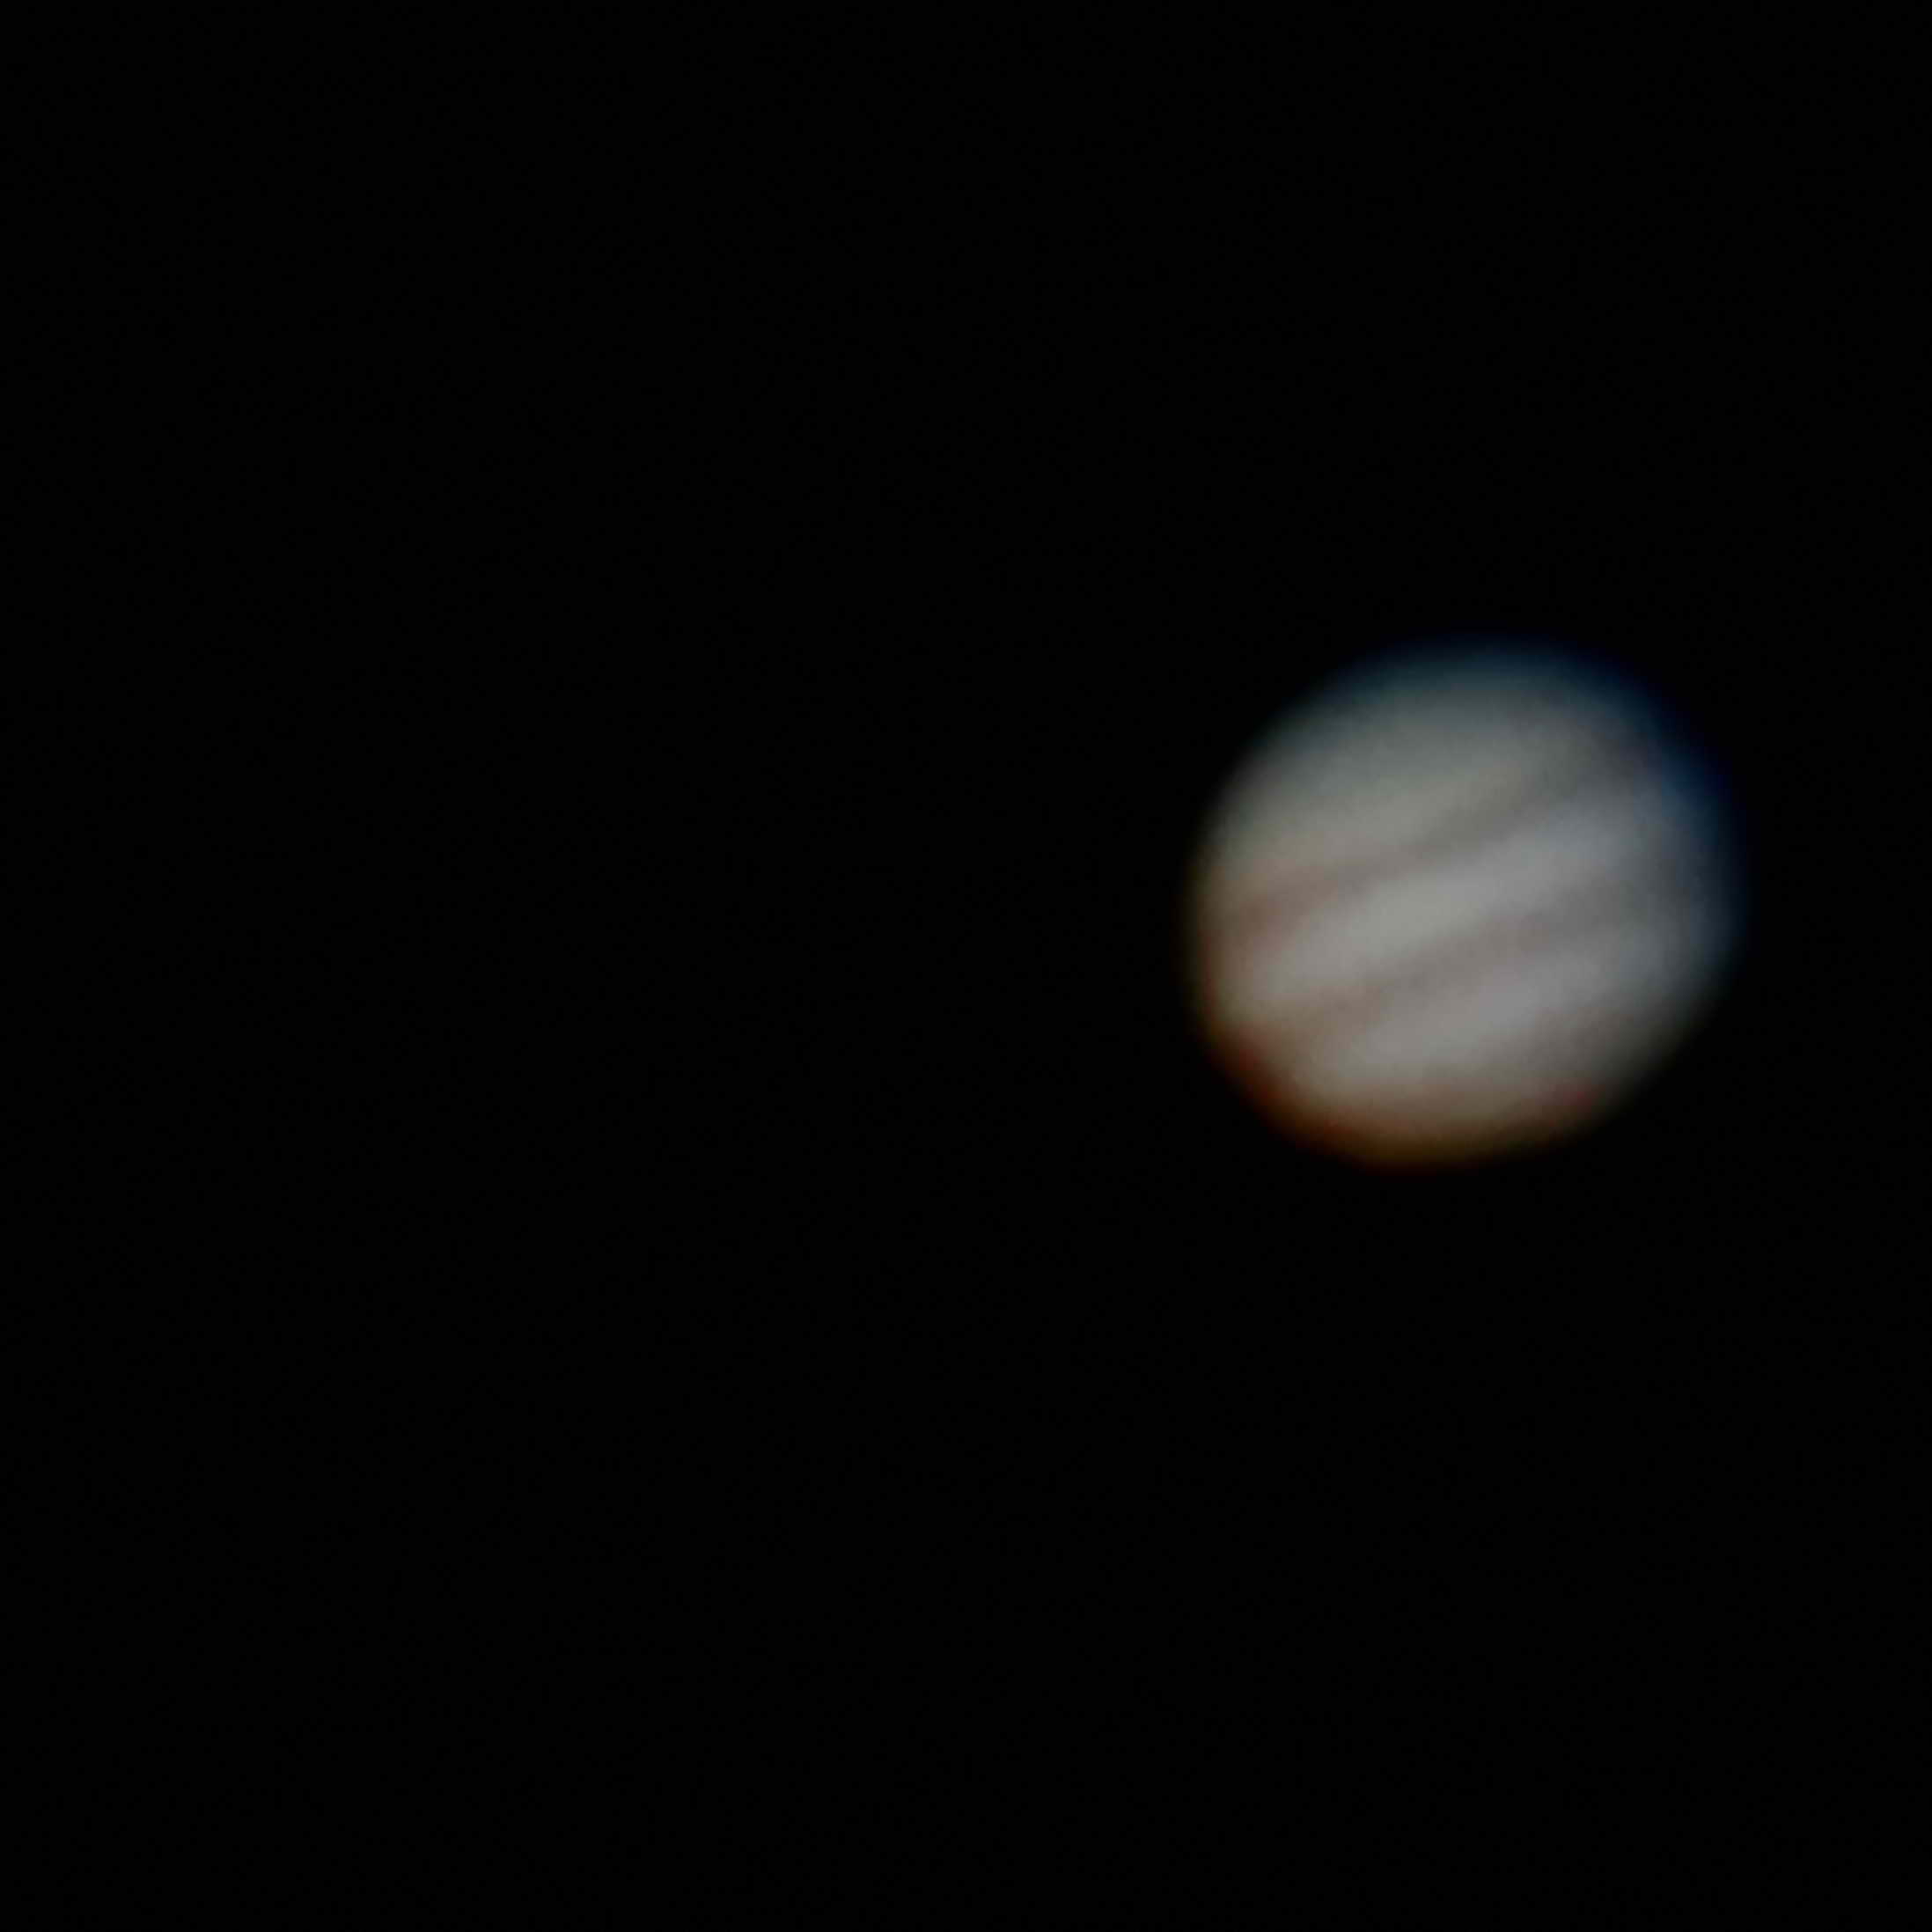
Not quite comparable to what a dedicated planetary camera obtains, but still exciting at the time! I decided to get into DSLR astrophotography on the 8se from then on, which is why I went down this challenging path with this particular scope and setup. You can find more on that here.
My General Advice
Yeah, I went the high focal length route, and it seems like so much is possible with this hobby, but I would still want anyone looking to get started to know exactly what is involved. Then you can determine what is the best option for your goals with the correct expectations. Here are some musts for starting out in astrophotography (not for observation, but specifically taking images!)
- Determine how much time you have
- Determine exactly what types of targets you want to image
- Determine a serious budget for your endeavors
- Consult others in the hobby
- Research the heck out of anything you’re going to do ahead of time
- Join the Astrobin community to see what others are doing
- Consider your level of light pollution
- Don’t do it all at once
Let me get into each of these in more detail.
1-Determine how much time you have
Determine how much time you have to devote to not only setting up and imaging, but also researching (yes, many hours here), troubleshooting, post-processing and acquiring the equipment you need as you go. Assume everything will take way more time than you expect. Does your job keep you busy for 50+ hours per week in addition to other obligations? You probably don’t want to start out trying to image DSOs with a high focal length telescope. You simply won’t have the time.
If you don’t have that much total time to devote to astrophotography (say, fewer than 10 hours), you should stick to the more straightforward objects that require less equipment (such as Milky Way and wide field). You’ll need time not only to get out there and take the images, but also to process them afterwards! All of your captions will probably contain the words “with work being so busy…”
If you have an intermediate amount of time to devote, maybe around 10-20 hours on good weeks, you’ll probably have time to make decent progress with more advanced equipment like a modest refractor or reflector and a small mount, which opens the possibilities for some other wide nebulous targets or some of the larger DSOs. You could also go the SCT route and do planetary photography with a good planetary camera!
Any fewer than 20 hours per week and you’ll probably not have enough time to make reasonable progress with a challenging setup like an SCT for DSO use. Working on getting a large mount that tracks accurately, tweaking it out, acquiring the data and learning the needed programs, calibrating and processing the data, and post-processing the results will prove too time-consuming, unless you’re in it for years. You probably don’t want to take months to get a few images at that rate. If you have the time, however, you can do a lot in a week and might enjoy the challenge and results from this sort of setup!
2-Determine what targets you want to image
Determine exactly what types of targets you want to image. Here are some major categories and associated equipment that is best for each. Check out this post for more on the main telescope designs and benefits.
- Large solar system objects such as the the moon and the sun (I mean large apparent sizes from earth, not their real, actual, sizes). Magnification doesn’t have to be large for these targets, nor does aperture. Solar photography is sort of its own beast and you’ll need a good solar scope and solar filter if you want to do it best. You can also use a solar filter on some other types of scopes that are great for the moon too, including reflectors (usually Newtonians) and SCTs. Even large DSLR telephoto lenses have been used image the moon with success.
- Small solar system bodies which includes the planets, most commonly Venus, Mars, Jupiter, Saturn, and occasionally Uranus and Neptune. These targets require the absolute most magnification on this list because of how relatively small they are. This is accomplished in scopes with larger apertures (for good resolution) making SCTs the scopes of choice for this. DSLRs can be used on the scope with some success, although a dedicated planetary camera is a must for serious work in this category. Nikon DSLRs are almost unusable for this because they’re unable to record HD video at 1:1 mapping on the sensor; even HD videos get compressed substantially (your sensor might be 24 megapixels, but even Full HD video at 1920×1080 is only 2 megapixels! You lose 92% of your resolution.) You’ll also likely need other equipment like a Barlow lens for planetary, but the setup is still much easier than DSO work.
- Ultra wide-field targets such as our Milky Way Galaxy and shots that include terrestrial foreground objects. These targets are generally pretty easy and inexpensive to acquire using a DSLR and lens or two! Great choice if you already have some of this equipment. You can shoot for images of just the Milky Way, or include earthly backdrops and landscapes. Setup is relatively straightforward and post-processing usually entails single images rather than stacking.
- Wide-field targets such as large nebulae, star clusters and constellations. This can be done using telephoto lenses on cameras as well as small telescopes. These include wide, large patches of the sky which don’t require much magnification or aperture, such as with small refractors and some fast Newtonians. Such targets include large nebulous detail, constellations, and other large parts of the sky; there are tons of options. Tracking is not overly picky here allowing lower-cost mounts, and with fast enough optics you can obtain results without tracking.
- Large Deep-Sky Objects including the Andromeda Galaxy, Triangulum Galaxy, Rosette Nebula, Veil Nebula, the Pleiades, star clusters and other large objects, for example. There are plenty of choices here. These are also large objects, relatively speaking (think moon-sized in the sky!) so many different scopes work here, including refractors, reflectors and even SCTs (preferably focal-reduced), in addition to telephoto lenses from DSLRs on tracking mounts.
- Small DSOs such as many of the Messier and NGC galaxies, nebulae, star clusters, and ultra-distant objects. This requires high magnification such as is found with an SCT or with other cassegrain scopes. This also requires a heavy-duty equatorial mount and many hours getting everything working accurately. The targets are pretty cool, but you’ll have your hands full starting here. This is why the general advice is to start with some of the other options on this list, although I didn’t!
There’s a lot here, so take the time to find what you like the most by perusing images of these objects. It’s completely fine to pick from multiple categories, too, and certain setups accommodate different varieties of targets.
3- Determine Your Budget
Determine a serious starting, and long-term, budget for your endeavors. Do this before looking into equipment unless you’re somewhat flexible, or you’ll quickly end up having to spend twice what you expect! Here are some things to keep in mind.
- Depending on what you want to image (see above), most of your budget could be occupied with camera lenses, or it could be in a telescope mount; it strongly depends on what you’ve chosen to image! If you have $1,000 to spend for wide-field shots with a DSLR, you’d spend $300 on a cheap tracking mount, $300-$400 on a DSLR, and $300-$400 on a nice telephoto lens. If you want to do DSOs, already have a DSLR, and have $2,000 to spend, you’ll spend most of the money on the tracking mount and the rest on a small telescope.
- You could get into the cheapest types of targets (wide-field) relatively easily for under ~$1,000 if you don’t already own a DSLR (maybe only a few hundred if you do!). If you want to image small DSOs, you’ll get okay results starting around $1,500 but won’t get peer-leading results for under ~$3,000.
- Consider buying used! You could save hundreds of dollars. The only downsides? You may have to wait for those good deals to show up on local sale ads, and you have to make sure there are no underlying problems with the items. I bought the following things used: telescope OTA/alt-az mount/eyepieces (pawn shop), one of my DSLRs (Craigslist), my still DSLR tripod (Craigslist), and the CGEM-DX mount I’m currently trying out at the writing of this post. I probably saved a total of ~$800 or more from these items alone over buying new.
4- Consult Others in the Hobby
Rely on the advice and experience of others in the field, either by getting in contact with a local astronomy club or with others in the forums online. Although I chose to pave my own way in the hobby to quite an extent, most people don’t have the time or determination to spend 2,000 hours getting to the peak of their work while trying every last thing out in every way possible to see what works best. Even with all of this said, I relied on countless forum posts and other sources. Save yourself the time (to the 99% of you!) and find a good path from the beginning so you can spend more time imaging and processing.
5- Research Everything You’ll do
Research the heck out of anything you’re going to do. Whether it’s a telescope choice, a program you want to buy, a filter, or a camera, you better know your stuff ahead of time or you’ll be making a lot of returns. Didn’t know that Schmidt-Cassegrain telescopes have a lot of introduced gradients in their images? You’ll be spending a lot of time learning about Pixinsight’s Background Extraction tools (I couldn’t even consider another program for this, and I’ve tried many). Didn’t know that a focal reducer you were looking at doesn’t have the right threads? Guess you’ll have to return it, or get another adapter to make it compatible, but now your backfocus distances are wrong and you need more adapters! Didn’t know that the Nikon D3300 doesn’t have a released software development package (SDK)? Well, it won’t work with any camera control software on your computer, except for the basics! Time to upgrade. The amount of these problems I can think of is crazy.
6- Join Astrobin
Join the Astrobin community to see what others are doing with which equipment as well as what can be obtained with various setups. Seriously, there’s nothing more valuable than seeing others’ work, either right at the stage that you’re at, or way down the road from where you’re currently at. It’s free to join and to get 10 uploads! I stumbled upon it when trying to pick a telescope and I’m glad I did. Just search for any equipment on there and you’ll find images of targets obtained by people using exactly what you’re looking for. I decided on the 8se, my ASI224MC planetary and guide cam, and guiding equipment, all by searching on Astrobin for results I liked! Don’t be the guinea pig if you want to get right into things.
7- Consider your light Pollution
Sorry, but if you’re imaging in Chicago or San Diego, expect either fighting the light pollution until the day you die (with filters, post processing and sky-location choices), or traveling with your equipment for the good nights. I’m near, but not in, a large city, so I get a little of both; I’ve gotten great results from the backyard, but with much more trouble than when I travel an hour away to some very specific dark sites. Consider the light pollution map here for rough estimates around you. Use the second-most recent data, as it’s well-established but also recent. If you really want some discouragement, compare 5 years ago to today!
This analysis could affect multiple things for you, including what types of targets you can image (good luck imaging faint nebulosity near a bright city in your backyard), whether you’ll have to travel (which affects how heavy your equipment can be and how much time you’ll have for imaging), and whether or not you’ll need equipment (filters) or expert processing skills (to fight the light pollution after the fact).
8- Don’t do it all at Once
Do NOT take on every aspect you decide to go with all at once. I promise, you will have enough on your hands to start off just trying to get the scope aligned on a standard alt-az mount. You don’t have the time, nor the capacity, to also try to attach the camera, polar align an equatorial mount, train PEC, guide the scope, and use automated image capture software, not even mentioning off-axis guiding (if you’re at high focal length) and post-processing. ALL of these tasks take hours, some dozens of hours, to master on their own.
Most people will be tempted to give up entirely if you decide on a complex setup and try to do everything at once. I worked for over a thousand hours (research, forum questions, imaging, aligning, PEC, post-processing, etc.) before ever even getting to off-axis guiding, for example. I personally worked on everything for a long time before moving on, so you may not spend this much time, but you should still know this if you want to do some of the more complicated photography.
Conclusion
These are some great tips to getting started and should help you plan out your goals! For more on how I progressed through the various stages of astrophotography, check out this.
Do a ton of research on what you want to do and be sure you check out Astrobin so you can see what is possible as well as get some ideas for different targets that might interest you. You’ll find a lot of resources out there to help in the process. If you have the time to devote to it, it will be a great hobby to pursue for a long time!